If you can’t logon to an user account in Windows 10 due to “The User Profile Service failed the sign-in. User profile cannot be loaded.” error, fix it here.
Multiple user functionality is one of the best bet to use Windows in public domain. To avail this feature, you can create numerous profile in the same Windows copy with having one administrator account in the center. But sometimes, you may be subjected to issues after creating new user account and then using them. Today, we’ll discuss one such issue in which you’re not able to logon an user account/secondary account created on your machine.
The User Profile Service failed the sign-in.
User profile cannot be loaded.
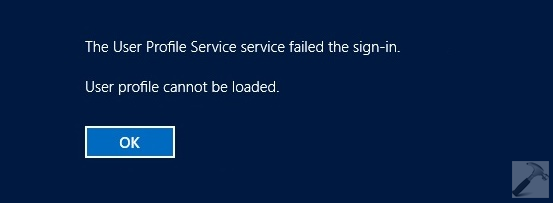
After creating a new user and then log in into that account, you may face the issue login failed. Generally, the root cause here is User Profile Service, that manages the user account activities in Windows.
Except the error message, there is nothing provided to overcome this weird situation. If you’re the admin of your system, and faced this issue after creating a new user account, you can use this procedure to fix this issue:
FIX : The User Profile Service Failed The Sign-in. User Profile Cannot Be Loaded.
FIX 1 – Via File Explorer
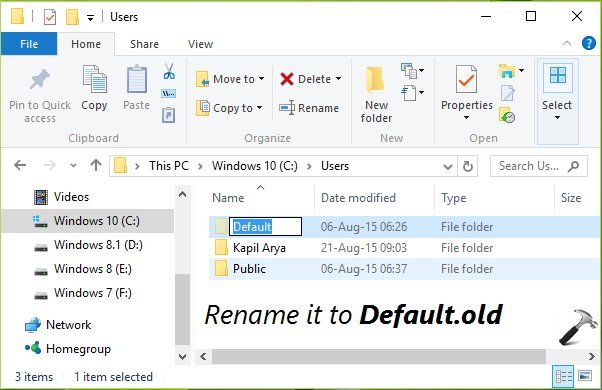
1. Press + R and type C:\Users and click OK. Switch to View tab in the folder so opened, and check Hidden items option in the ribbon. You’ll see a new folder now located inside this folder, named as Default. Rename this folder to Default.old.
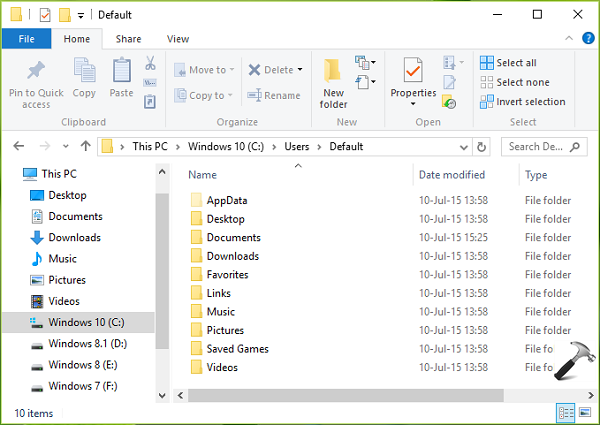
2. Now create a new folder named Default under C:\Users. Inside it, create following empty folders such that their location became:
C:\Users\Default\AppData
C:\Users\Default\AppData\Local
C:\Users\Default\AppData\Roaming
C:\Users\Default\Desktop
C:\Users\Default\Documents
C:\Users\Default\Downloads
C:\Users\Default\Favorites
C:\Users\Default\Links
C:\Users\Default\Pictures
C:\Users\Default\Save Games
C:\Users\Default\Videos
3. Next, open administrative Command Prompt and copy NTUSER.DAT file of issued account to C:\Users\Default using following command (replace <USERNAME>):
xcopy C:\Users\<USERNAME>\NTUSER.DAT C:\Users\Default

4. You can now create another user account and reboot, then log-in to that account. You’ll find that you could easily logon there and issue doesn’t occurs now.
FIX 2 – Via File Explorer & Group Policy
Learn how to solve “The Group Policy Client Service failed the sign-in. The universal unique identifier (UUID) type is not supported” error in Windows 10.
While logging into Windows, there are some crucial background processes are propagating. The Group Policy Service (GPSVC) is part of one of those processes in which this service communicates with Winlogon service via a Remote Procedure Call (RPC). The aim of this communication is to make a cross check on Computer Configuration and User Configuration of Group Policy Objects and load policies accordingly.
Generally, when this scenario is going on, the GPSVC is taking part in the chain of events separately from the beginning. But when the same service, i.e. GPSVC takes part in the processing, in combination with other processes, there are chances of following error to occur.
Group Policy Client Service failed the sign-in.
The universal unique identifier (UUID) type is not supported.
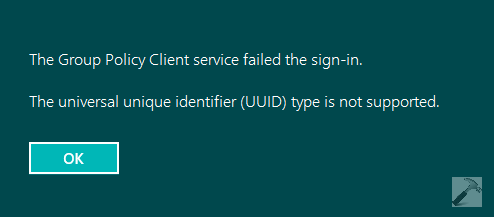
Due to this error your attempts to logon into the system will go into vain. The explanation behind this error is given as follows:
The case in which GPSVC is working into shared process environment, and its separation from the same environment plus failure to connect with Winlogon causes this error. Actually, the System Configuration Manager in the Windows Image, installs Client Side Extension which isolates GPSVC. Since RPC was made already, the GPSVC now can’t connect to Winlogon. In this way, the sign-in can’t proceed and Winlogon generates the error mentioned above.
Most probably you’ll face this error after creating a new user and logging into that user account, for the very first time. Here is how you can solve it:
FIX : ‘The Group Policy Client Service Failed The Sign-in. The Universal Unique Identifier (UUID) Type Is Not Supported.’ In Windows 10/8/7
Registry Disclaimer: The further steps will involve registry manipulation. Making mistakes while manipulating registry could affect your system adversely. So be careful while editing registry entries and create a System Restore point first.
FIX 1 – By Isolating GPSVC From Being Shared Process
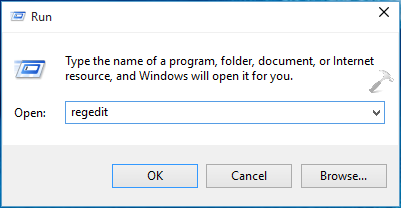
1. Press + R and put regedit in Run dialog box to open Registry Editor (if you’re not familiar with Registry Editor, then click here). Click OK.
2. In the left pane of Registry Editor, navigate to following registry key:
HKEY_LOCAL_MACHINE\SYSTEM\CurrentControlSet\Services\gpsvc
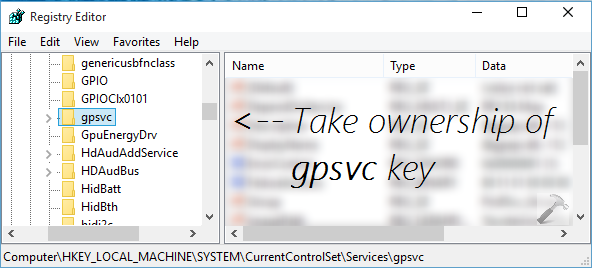
3. Here, at this registry location, you need to take ownership of gpsvc key. You can adopt either of these two ways to take ownership:
4. Once you’ve successfully taken ownership of registry key, close Registry Editor. Open elevated or administrative Command Prompt and type following command, hit Enter key then:
reg add "HKLM\SYSTEM\CurrentControlSet\Services\gpsvc" /v Type /t REG_DWORD /d 0x10 /f

You must receive “The operation completed successfully” message. In case if you’ve not taken ownership of the registry key mentioned in step 3, the command will not execute and you’ll get Access is denied message.
So by executing the command successfully, we force the GPSVC to initiate as a separate process from the beginning rather than to act as shared process. Thus now GPSVC can communicate correctly with Winlogon and there is no error during sign-in process, hence user logon becomes successful.
FIX 2 – By Fixing GPSVC Startup (UPDATED: 21 Aug, 2017)
If you can’t boot and have single user/admin account on the machine, fix this issue by booting from Windows 10 installation media.
